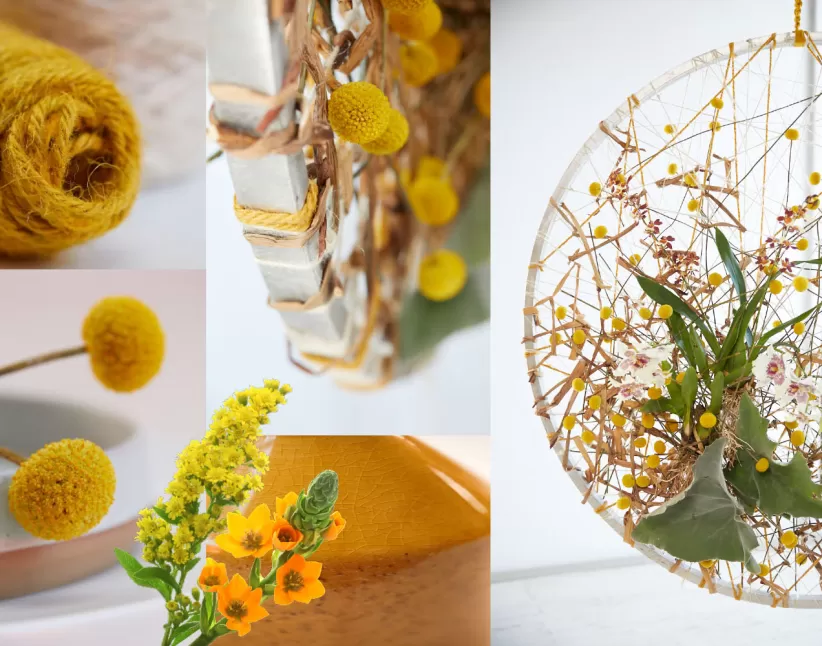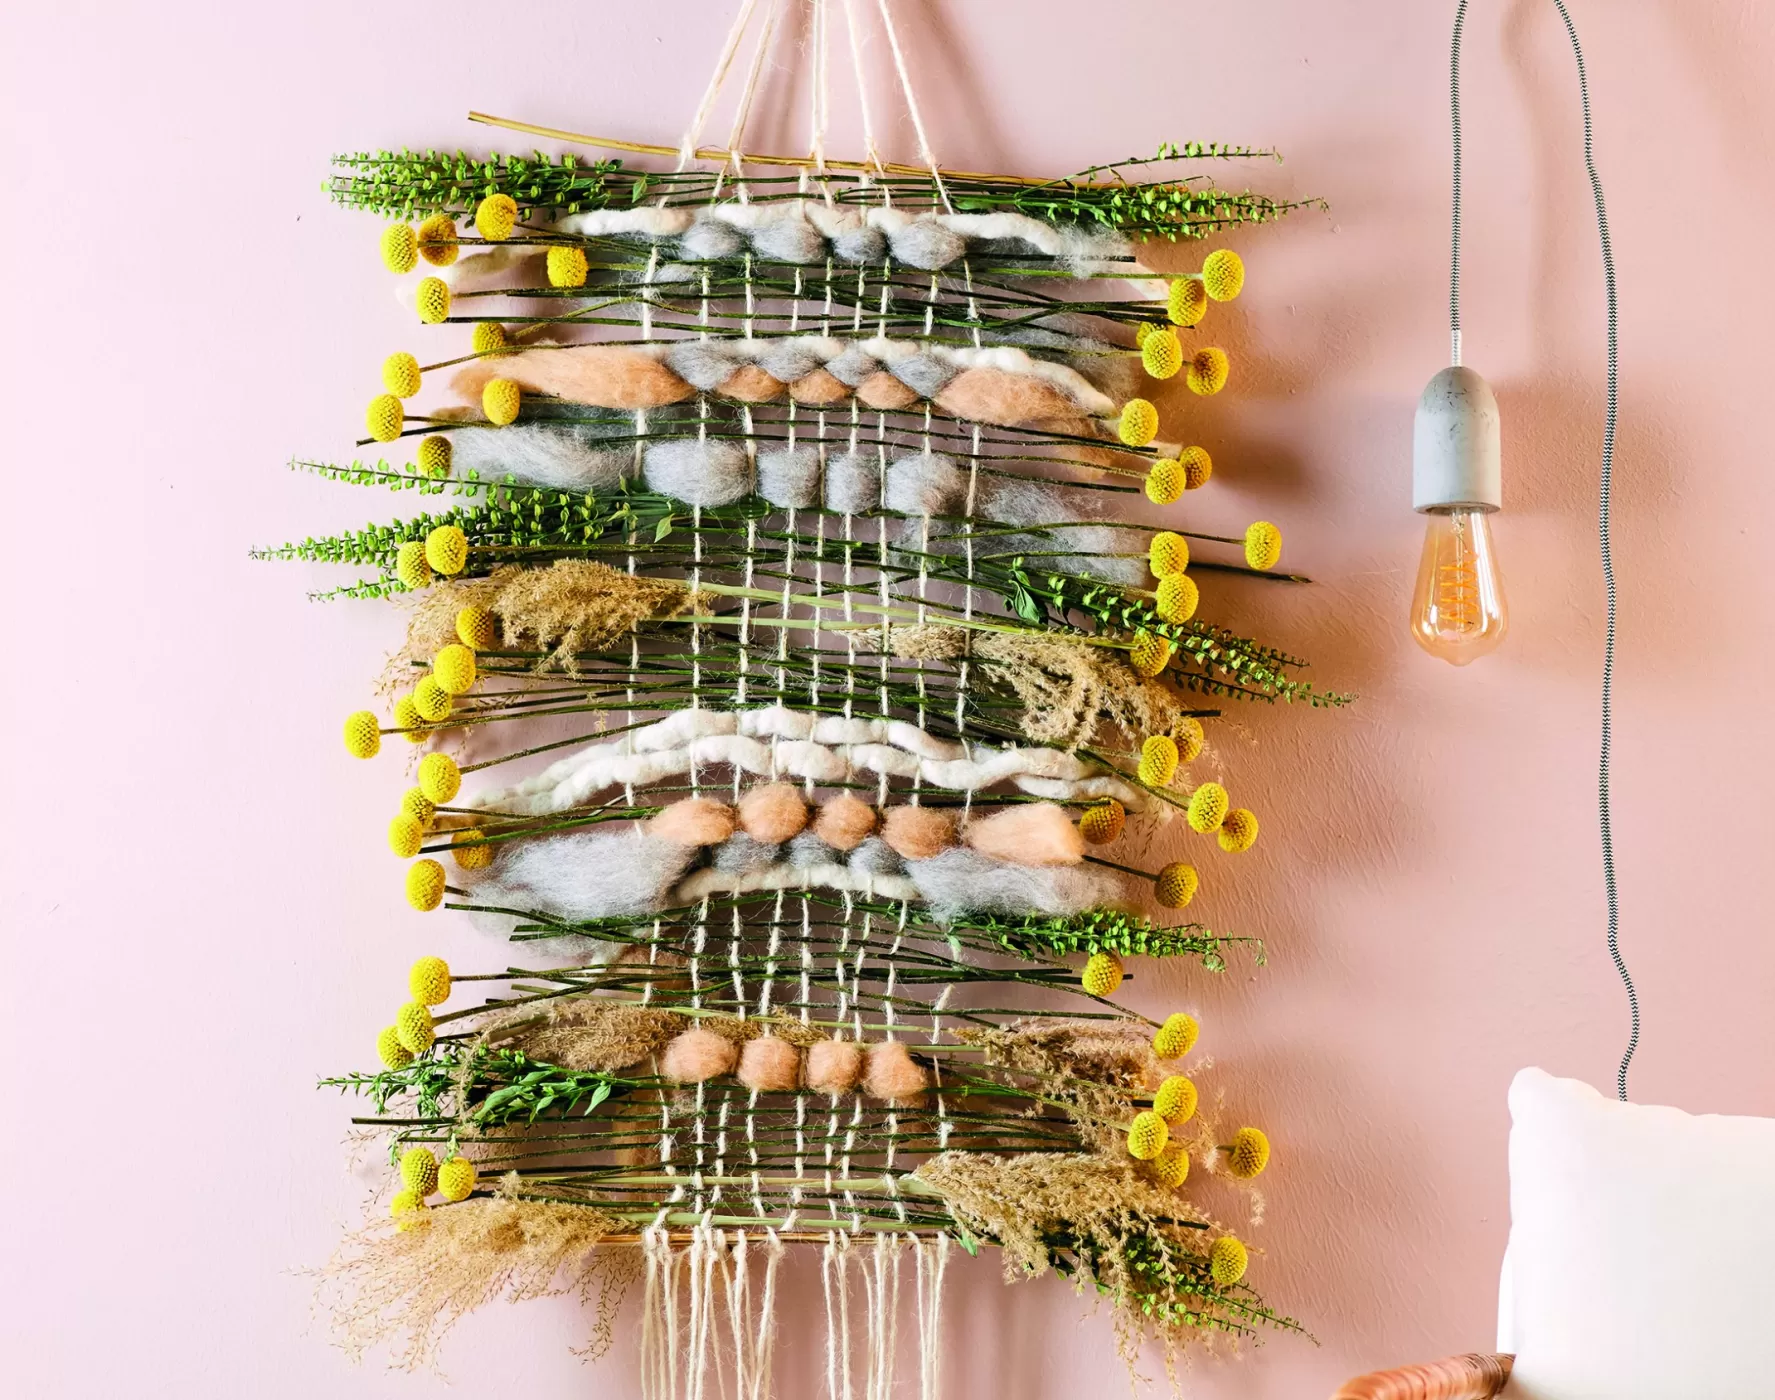
his decoration radiates pure cosiness! Just like in the old days, an old weaving frame filled with Craspedia, Miscanthus, Scutellaria, twigs and wool woven in between the strings. The subtle play of colours in the tapestry rightly attracts all eyes. Make one yourself with this step by step!
Do it yourself: Craspedia tapestry
In this video, you will learn how to make such a cozy floral tapestry yourself! The DIY starts at minute 4:14. Prefer reading over watching? Below the video, the design is explained step-by-step in text.
You have to accept social media cookies to view this video.
To change your cookie preference, go to the cookie page.
Step by step
Supplies
- wooden board
- string
- scissors
- two twigs
- wool
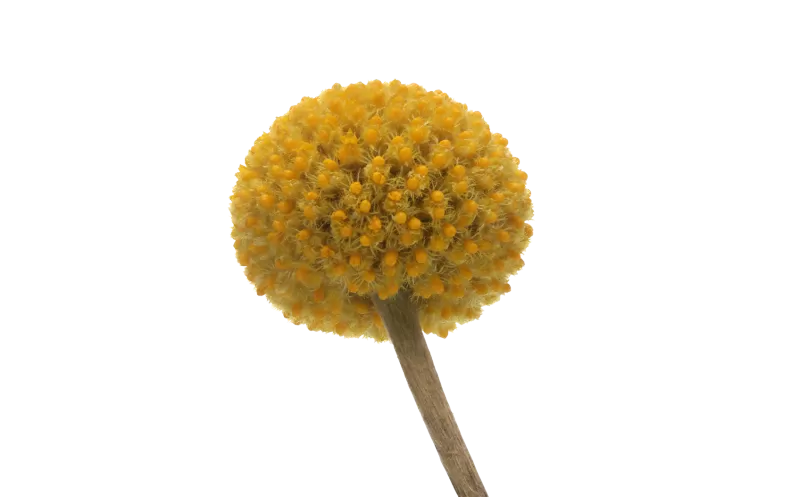
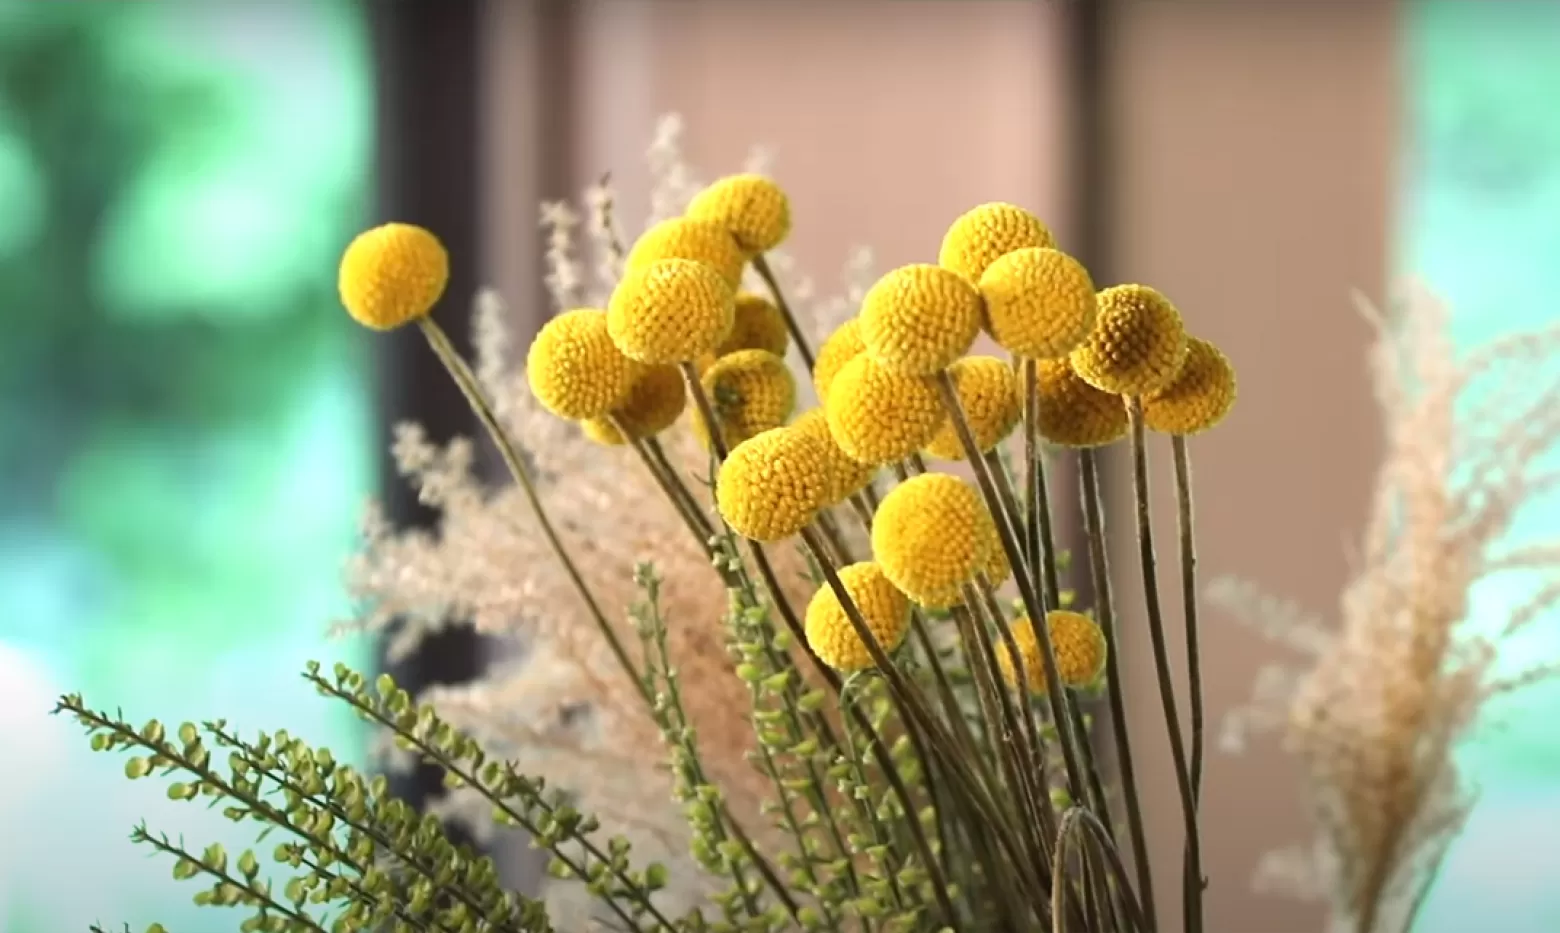
- Craspedia Paintball™ Pop (50)
- Scutellaria (10)
- Miscanthus White Cloud (10)
Step 1 Wrap 8-10 strings around the length of your board, and tie at the back. Distribute them evenly over the width. These vertical strings are called the ‘warp’.
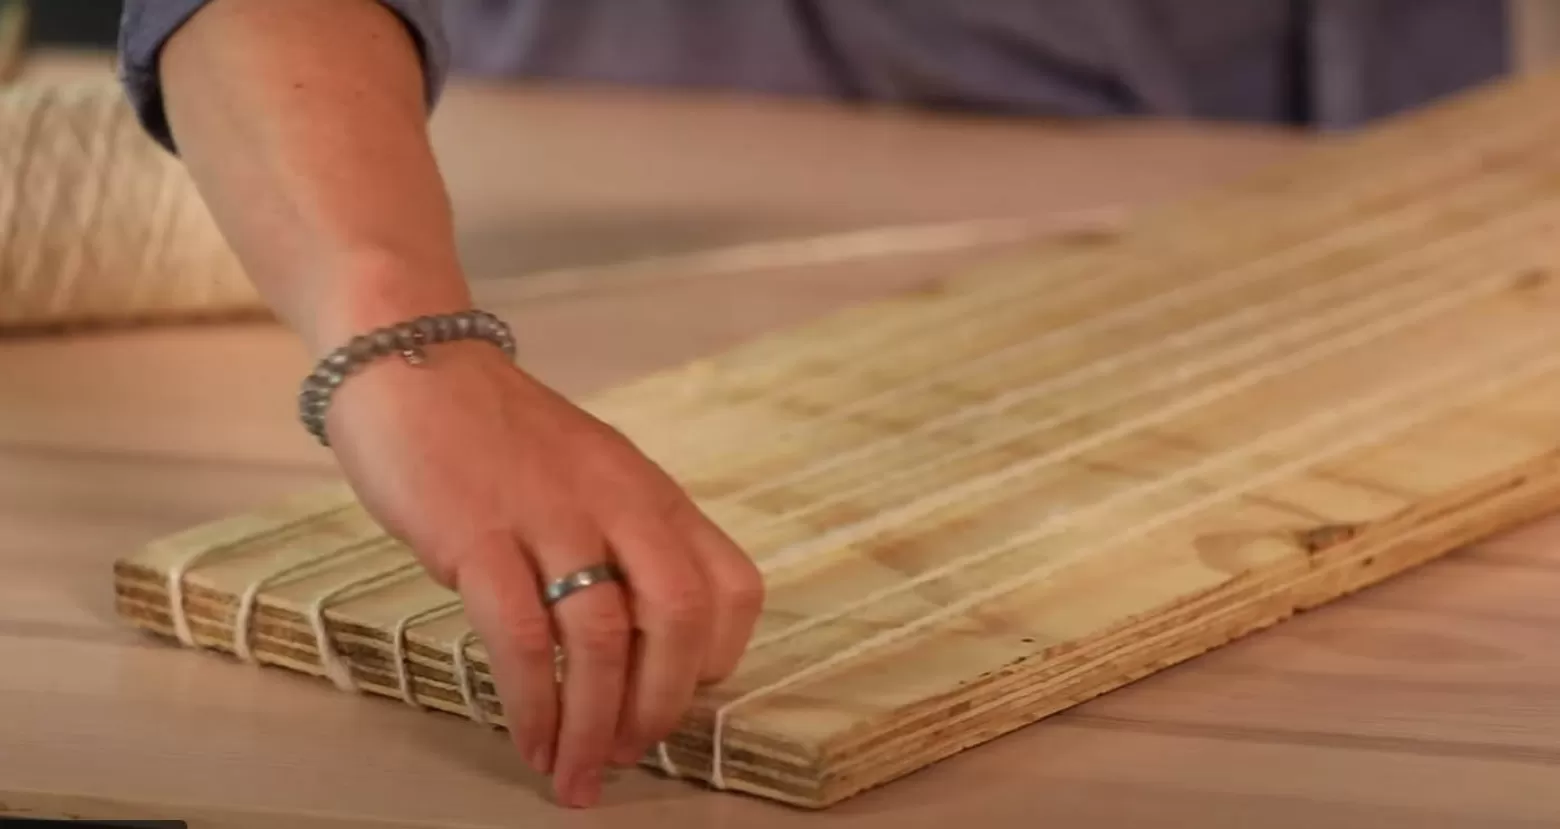
Step 2 Weave a twig through the ropes at the top of the board by going under and over each vertical string. The twig will be a strong base for your design.
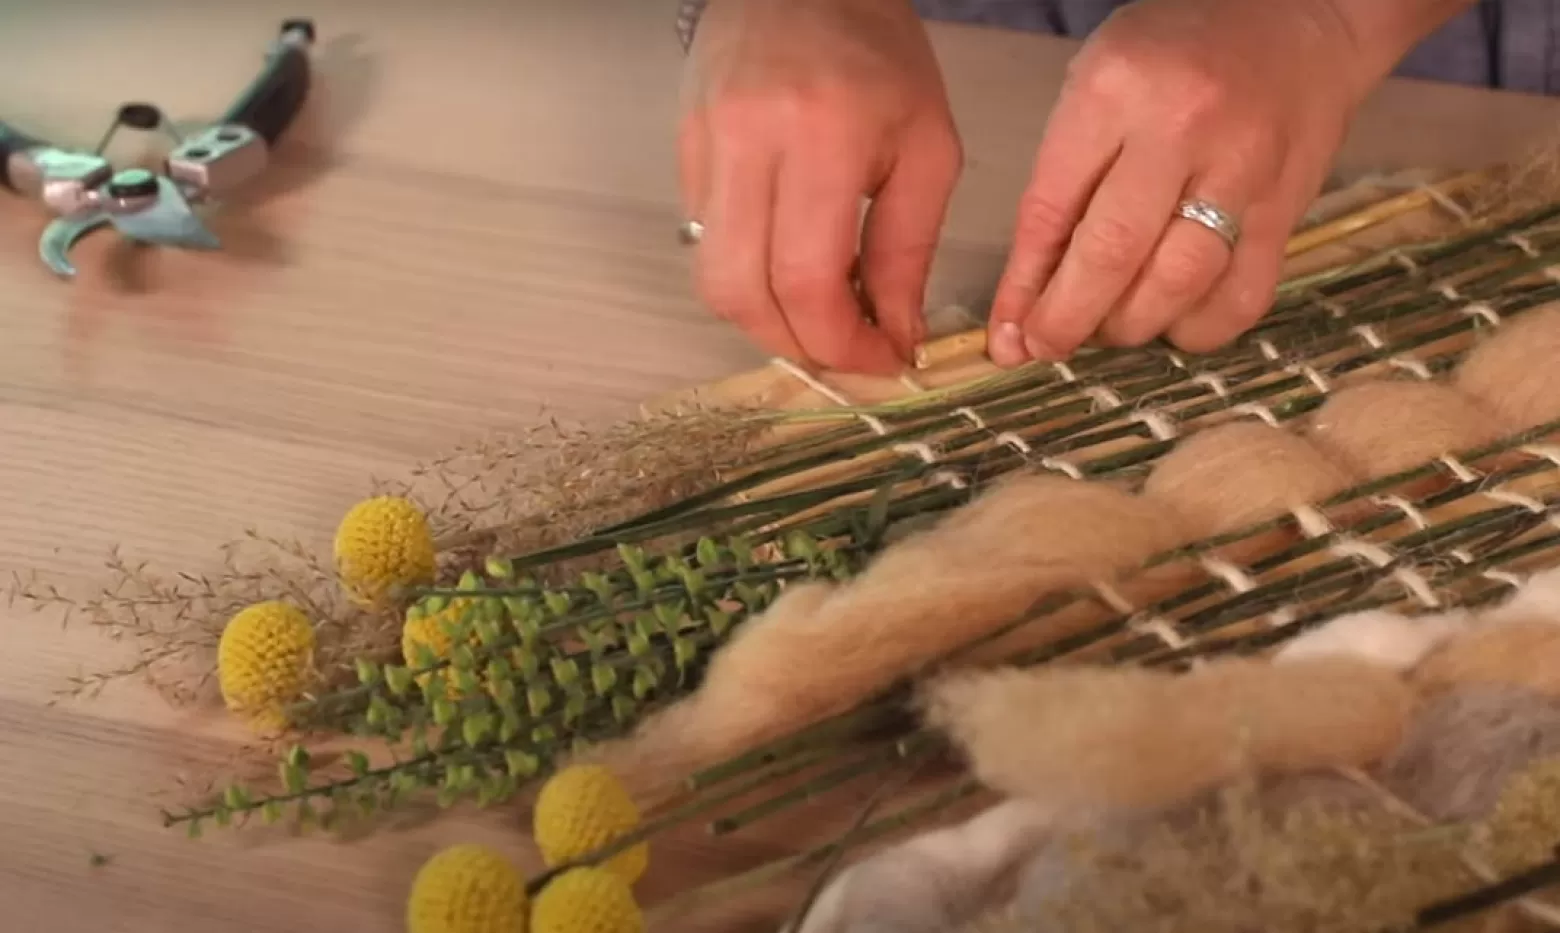
Step 3 You can now start weaving in your first group of flower stems, like Scutellaria in this design. Two stems are used, each facing in the opposite direction. Make sure to alternate going over or under the first string between each row. After weaving, push the stems towards the top of the board to secure them.
Step 4 To create a cosy decoration, you can add in materials like wool. Weave strokes of wool into the warp in the same way as the flower stems.
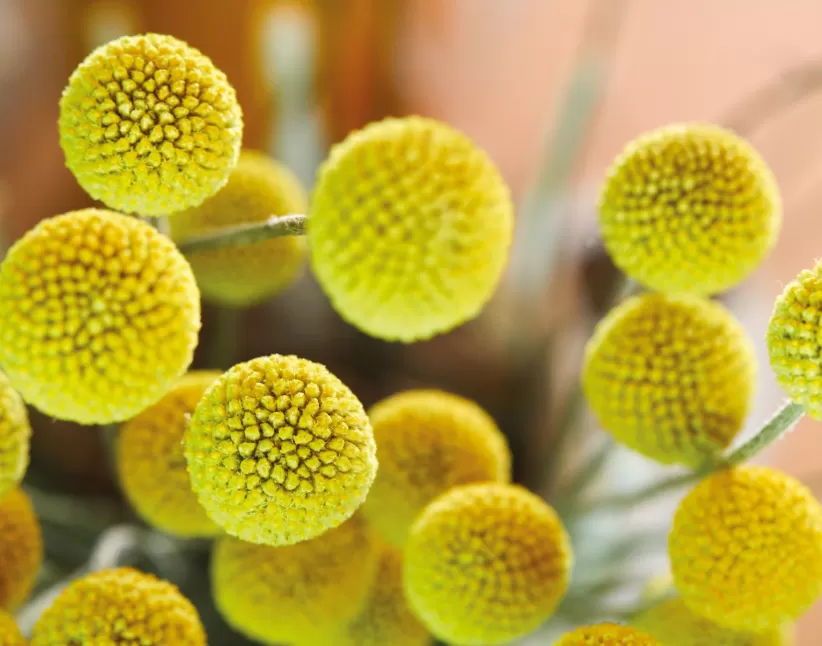
Step 5 Craspedia Paintball™ Pop is the star in this design. So use around 8-12 stems per row of Craspedia to give them the attention they deserve.
Step 6 Continue weaving rows of Miscanthus, Scutellaria and Craspedia stems and wool until you reach the bottom of the board. Cut off stems protruding too far to the sides.
Step 7 Finish off with a strong twig.
Step 8 Cut the strings at the back of the board and tie each set of adjacent strings at the top and bottom, right at the twig. At the top, tie all strings together to be able to hang it on the wall.
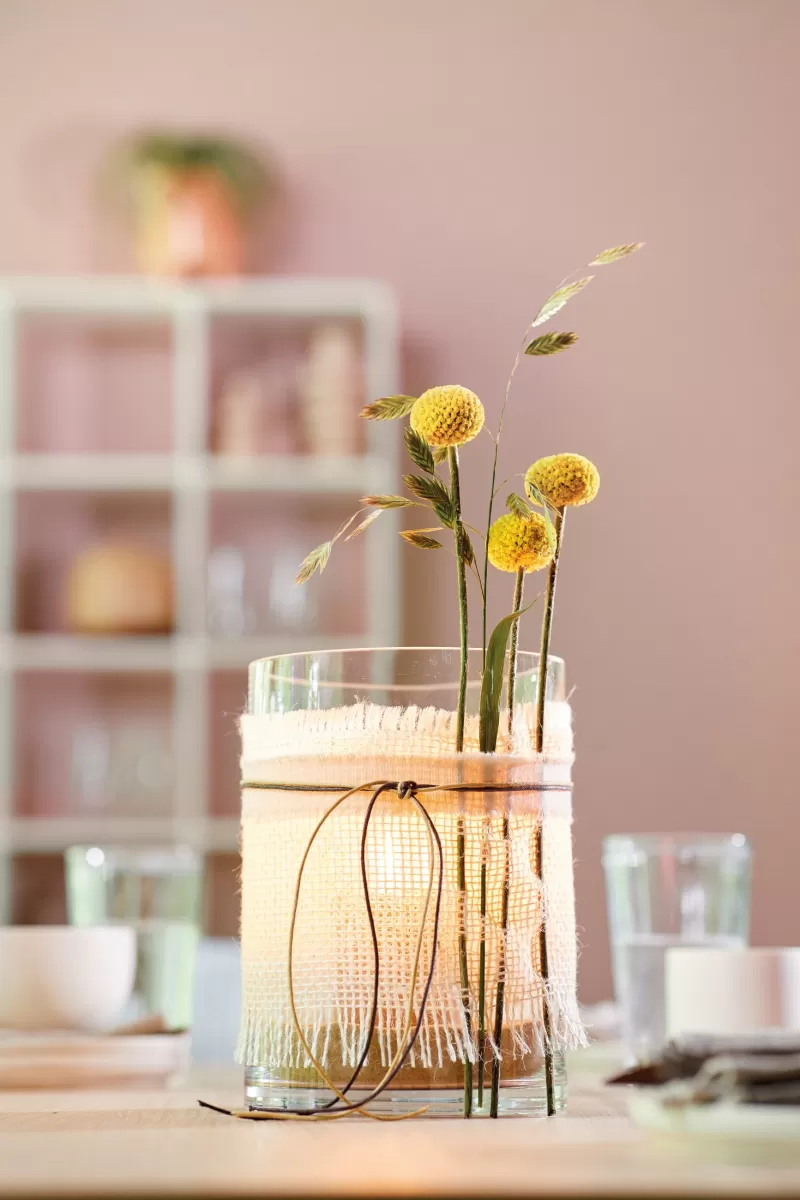
Voila, you have created your own natural tapestry, find a nice place to hang it and enjoy!
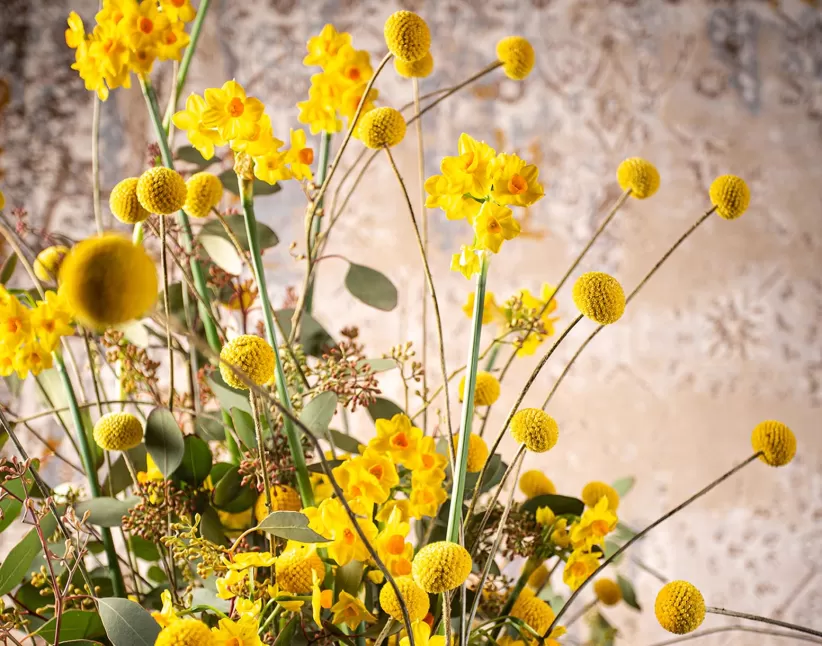
For the Craspedia lovers
The two other designs from the video are just as cute! Want to know more about these cheerful drumsticks? View all product information here:
With thanks to Klaus Wagener and his team from BLOOM’s Deco for the designs and Danziger for the collaboration.
Related stories
Decorating with Craspedia Paintball™ Pop
Craspedia brings colour and lightness into your home and it dries beautifully, so you will get to enjoy it for a long long time.
read more